Viewing roots with compound microscope
Sectioning Unembedded Roots
- Place the root system in a dish of water, and use forceps to tease out the roots from one another. Once a segment for sectioning has been selected, use a sharp blade to remove this portion.
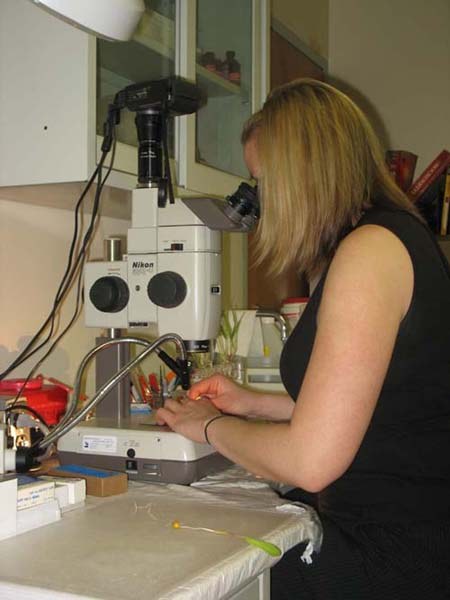
- Under a dissecting microscope, place the root segment in a drop of water on a piece of dental wax that has been placed on a small pane of glass. The droplet of water should be large enough to completely submerge the segment. Move the pane of glass until you are able to see your sample through the ocular of the dissecting scope. Adjust the stage and external light sources until desired contrast is achieved. The root segment should be oriented in whichever direction is most comfortable for you, but make sure that you are able to look directly down at the cutting surface. This will allow for maximum control of sectioning. Use the edge of the stage to steady your hands and/or the edge of the lab bench to steady your forearms.
- Snap a double-sided razor blade in half, while it is still in the package. While sectioning, make sure that the blade, your fingers and the section stay wet. The idea is for the section to slide onto and off of the blade directly into the pool of water, and cushioned by water on the way.
- Holding the root down gently, use your dominant hand to hold the razor blade. Make thin cross-sections of the root, with one single downward motion. Avoid back-and-forth, sawing motions. It is extremely important that the blade is held perpendicular to the longitudinal axis of the root to ensure sections of even thickness. To cut very thin sections, you may wish to rest the flat part of the blade against the forefinger of the hand holding the root.
- When you begin to feel some resistance to cutting, you can flip the blade and use the opposite end. Experienced sectioners will learn to maximize the life of their blades by using the center of the blade. Since the quality of your sections depends heavily on the sharpness of your blade, change blades often.
- Once you have cut many sections, you will need to move them to a slide or staining dish. Convection currents are created in the pool of water during sectioning, so one must pay attention that good quality sections do not float back and get cut in half by the moving blade.
- Transfer sections to a planchette or watchglass (if staining) or directly into a drop of water on a slide. Various tools can be used to transfer sections, including sharpened orange sticks, craft paint brushes, or hair tools. In any case, it is best to have a pair of sticks. If using craft paintbrushes, you may wish to remove some of the hairs. Hair tools are made by supergluing human eyelashes or Dalmation hair to the end of a skewer or the wooden end of a long cotton swab. To transfer sections, use one stick or brush to sweep sections onto the other. To remove them from the stick or brush, dab gently into a droplet or pool of water.
- Place as many sections as possible on a slide, and gently lower a coverglass over the drop of water. To avoid air bubbles, place one end of the coverslip in the drop of water and lower gently onto the rest of the drop. If your droplet of water doesn't extend to the ends of the slide, use a Pasteur pipette to slowly add a bit of water. Do not use too much water under the coverslip, or the sections will float around (and possibly off) the slide.
- Observe sections on a compound light microscope.
Sectioning Embedded Roots
- Depending upon the quality of your tissue, your level of expertise, and other factors, you may choose to embed fresh or preserved tissue using other plant tissues as support tissue to make hand sections. You can also embed in other media including agarose, resin (plastic), or paraffin wax.
- The tissue you wish to section must be placed in some type of support tissue (i.e. elderberry pith, carrot potato, etc) that has been preserved in 75% ethanol for several months. Support tissue should be soaked for an hour or so before inserting your tissue. Cut a small groove in one piece of support tissue (or in two halves), place your tissue inside, and section as instructed above.

