A very good protocol for washing roots out of a sample was described in a paper by ( 1979). We came up with another way. You can be the judge of which is more efficient in terms of time energy and conservation of sample.
Step 1: Remove soil from core and put in bath
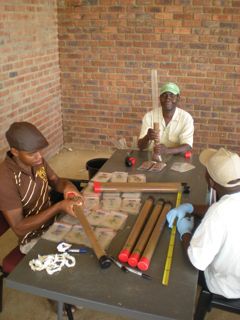
To facilitate the removal of soil from the core we use a 1x1in "pushing stick" marked every 10 or 15cm (depending on your sampling depth). If the soil does not fill the entire sleeve we use a permanent marker to mark the bottom end of the soil. That becomes zero and then we push with the pushing stick until that mark lines up with the next line (be it 10cm or 15cm or whatever you decided). We push the sections of soil into 2 pint wide mouth containers and then fill them with soap and water and let them soak for 5-10 minutes. For very sandy soils soaking is not necessary. We've also found that for sandy soils pushing doesn't work because it compacts the sample and so marking and carefully shaking the soil into dishes or bags works much better.


Step 2: Wash the soil from the roots
We use some sort of table or tub to work on, place a piece of coarse mesh on top, and a 1mm screen on top of that. Then we spray the sample with water in such a way that it is spread out over the mesh and methodically pick through it and pluck out the roots with tweezers. This takes about 2min per 10cm or 15cm sample. Then we flip over the 1mm mesh spray it down and dump the next sample onto the top.


Step 3: Storage of root samples
Once again, storage technique depends upon what you're going to do with the samples. Best practice for long-term storage would probably be preservation in 100% ethanol. For short-term storage we use 25% ethanol and put them in the 4C freezer. For the smaller samples we use 5ml centrifuge vials and for the larger samples we use 20ml snap caps.
Step 4: Analysis
Look in other sections to learn how to use WinRhizo and DNA detection techniques.

